Master Dog Tag Engraving: A Step-by-Step Guide for Pet Owners
Overview
Engraving dog tags is a heartfelt process that plays a crucial role in ensuring the safety of your furry family members. By creating personalized identification tags, you can include essential information like your pet’s name and your contact details, giving you peace of mind. This article provides a comprehensive step-by-step guide, addressing your concerns about pet care while emphasizing the importance of selecting the right materials, tools, and techniques.
As you embark on this engraving journey, you may encounter common challenges. But don’t worry; we’re here to help you navigate these hurdles to achieve a successful outcome. With our nurturing approach, you’ll feel confident in your ability to create a beautiful tag that reflects your love for your pet.
Take the first step today and ensure your beloved companion is always safe. Together, we can create a nurturing environment where your pet feels secure and cherished.
Introduction
Creating a personalized dog tag is more than just a decorative accessory; it serves as a crucial safeguard for your beloved furry family members. This guide delves into the art of dog tag engraving, exploring everything from essential materials and tools to step-by-step instructions for crafting a durable and stylish identification tag. Yet, amidst the excitement of customization, many pet owners grapple with challenges like design clarity and tool mishaps.
How can you ensure that your heartfelt creation not only looks good but also stands the test of time? Let’s embark on this journey together, ensuring that your pet’s safety and style are perfectly intertwined.
Understand Dog Tag Engraving Basics
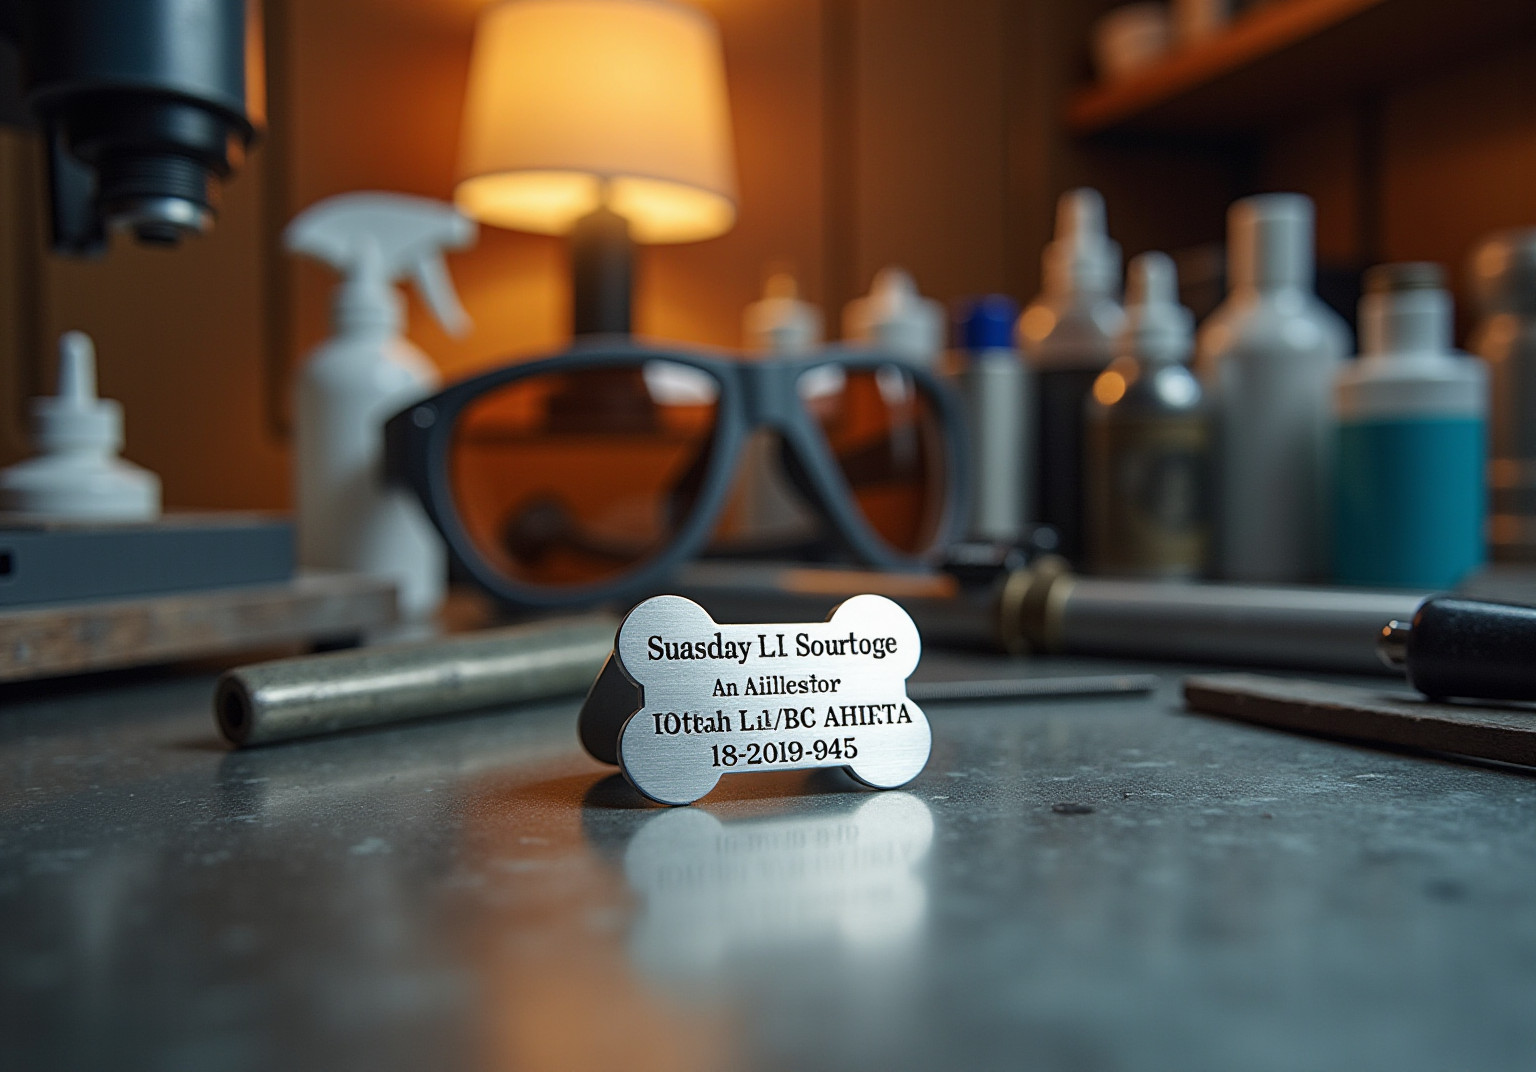
Creating a dog tag engraving is a heartfelt way to ensure the safety of your furry family members. These tags typically include essential information, such as your pet’s name and your contact details, which can be a lifeline if they ever go missing. Understanding the various materials—like stainless steel, aluminum, and brass—and marking techniques, including laser marking, stamping, and etching, is crucial. Each method has its own pros and cons regarding durability, legibility, and aesthetic appeal. For example, laser marking is celebrated for its precision and longevity, making it a favorite among pet owners.
It’s important to recognize that dog tag engraving for identification plates is mandated by law in many cities, highlighting the necessity of having such items for responsible pet ownership. The price of dog identifiers varies, with basic aluminum models typically ranging from $5 to $10, while premium options can be significantly more expensive.
Customization options are blossoming in 2025, with vibrant colors and unique fonts that reflect your dog’s distinct personality. As pet care experts emphasize, sturdy dog tag engraving is essential for responsible ownership, providing peace of mind and increasing the chances of a safe return if your pet goes missing. Engraved labels, such as those created through dog tag engraving, not only serve a practical purpose but also allow you to celebrate the uniqueness of your beloved companions.

Gather Essential Materials and Tools
Before embarking on the engraving process, it’s essential to gather the following materials and tools to ensure a smooth and fulfilling experience for you and your furry family member:
- Blank Dog Tags: Opt for tags crafted from durable materials such as stainless steel or aluminum to ensure longevity and withstand the adventures of your pet.
- Engraving Machine: Choose a laser engraver, rotary tool, or hand-stamping kit based on your preference. Popular models like the XYZ Laser Engraver and the ABC Rotary Tool are known for their reliability and ease of use, making your task easier.
- Design Software: If utilizing a laser engraver, having software to create or import designs is crucial for achieving the desired look. Programs like DesignPro or EngraveIt are user-friendly options that can help you express your pet’s personality.
- Safety Gear: Equip yourself with protective eyewear and gloves to maintain safety throughout the carving process, ensuring you can focus on creating something special.
- Clamps or Holders: Use these to secure the dog tag in place during the marking process, preventing any movement that could lead to mistakes and ensuring a clean finish.
- Cleaning Supplies: Prepare rubbing alcohol and a soft cloth to clean the tags before marking, ensuring a clear and precise finish that reflects your love for your pet.
Tips:
- Verify that all tools are in good working condition prior to starting this meaningful project.
- Organize your workspace to keep all materials within easy reach, allowing you to focus on the task at hand.
Cost Information:
The average cost of dog tag engraving tools ranges from $50 to $300, depending on the type and brand of the machine. Investing in quality equipment can enhance both the inscribing experience of dog tag engraving and the heartfelt results.
Engaging Quotes:
As Franklin P. Jones wisely noted, “Scratch a dog and you’ll find a permanent job,” highlighting the enduring bond between pets and their owners. This connection makes the effort of marking a tag all the more significant, as it reflects the love and care you have for your pet.
Next Steps:
Once you have gathered all the necessary materials, you can proceed to design your tag and begin the engraving process. This will ensure your pet’s identification is not only stylish but also secure, showcasing your commitment to their safety and well-being.
Follow the Step-by-Step Engraving Process
Engraving your dog’s tag through dog tag engraving can be a meaningful way to ensure their safety. Follow these nurturing steps to create a lasting identification for your furry family member:
- Design Your Engraving: Begin by using design software to craft a layout that includes your pet’s name and your contact information. It’s important to ensure the text is legible and fits within the tag’s dimensions, as clarity is crucial for identification.
- Prepare the Engraving Machine: Set up your machine according to the manufacturer’s instructions. If you’re using a laser engraver, adjust the settings based on the material type. Typically, a recommended power of 2 W at 1064 nm works well for stainless steel. Make sure the resolution is set to 2k for optimal results.
- Secure the Tag: Firmly fasten the dog tag using clamps or holders to prevent any movement during the marking process. This step is essential for achieving precise results that you can trust.
- Confirm Laser Focus: Before you begin etching, activate ‘Preview Mode’ to ensure the laser lens is correctly focused. Measure the distance to confirm it is set to 15 cm (150 mm), or check that the two red dots emitted by the machine overlap perfectly.
- Engrave the Tag: Start the etching process while keeping a watchful eye on the machine to ensure it operates smoothly. If you’re using a manual technique, carefully outline your design with the carving tool, maintaining consistent pressure. Adjust parameters like power, speed, and resolution based on the dog tag’s properties and design intricacy.
- Clean the Tag: Once you’ve finished inscribing, gently clean the tag with rubbing alcohol to remove any debris or residue, ensuring that your final product is pristine and ready for your pet.
- Inspect the Final Product: Take a moment to check the etching for clarity and completeness. Verify that all information is legible and correctly spelled, as this is vital for your pet’s identification.
Additional Tips:
- Before starting on the actual tag, consider testing the engraving settings on a scrap piece of material to avoid any mistakes.
- Take your time to ensure precision, especially around curves and letters, as common errors can occur in these areas.
- Always wear protective goggles or use a laser protection cover when operating a laser cutting machine to ensure safety during the process.
By following these steps, you can create a beautiful and functional tag that enhances your pet’s safety and gives you peace of mind.

Troubleshoot Common Engraving Issues
Even with careful preparation, it’s natural to encounter challenges during the carving process. Let’s explore some common problems and their thoughtful solutions:
- Faded Design: If your design appears faint, don’t worry—this can happen! Simply check the machine settings. Increasing the power or adjusting the speed can help achieve a deeper cut, ensuring your design shines.
- Misalignment: If the inscription seems off-center, take a moment to double-check the alignment of the tag in the machine. Using guides or templates can provide the assurance you need for proper placement.
- Material Damage: If your tag is scratched or damaged, it’s important to ensure that the marking tool is appropriate for the material. Consider exploring different tools or methods for your future projects to avoid this issue.
- Inconsistent Depth: If you notice variations in carving depth, make sure the tag is securely clamped and that the cutting tool is functioning properly. Cleaning the tool can also help remove any debris that might be affecting its performance.
- Design Issues: If the design doesn’t transfer as expected, revisit your design software to confirm that the layout is correct. Simplifying complex designs can lead to better results, giving you peace of mind.
Pro Tips:
- Keeping a log of any issues you encounter and how you resolved them can be a valuable resource for future reference.
- Remember, you’re not alone! Don’t hesitate to seek advice from online forums or communities dedicated to engraving. They can offer support and insights that make your journey smoother.

Conclusion
Creating a personalized dog tag is more than just a creative endeavor; it is a crucial step in ensuring the safety and well-being of your beloved pets. This guide has illuminated the essentials of dog tag engraving, covering everything from the necessary materials and tools to the step-by-step process of crafting a durable and stylish tag. By prioritizing the engraving of identification tags, you can take proactive measures to safeguard your furry companions.
Throughout this article, we’ve highlighted key points such as:
- The importance of including vital information
- Exploring various engraving methods
- Troubleshooting common issues
Understanding the different materials, costs, and customization options available empowers you to make informed decisions that enhance your pets’ safety while celebrating their unique personalities. The insights provided serve as a comprehensive resource for anyone looking to embark on this meaningful project.
Ultimately, the act of engraving a dog tag transcends mere functionality; it is a heartfelt expression of love and responsibility. By investing time and effort into this process, you can foster a deeper connection with your pets and ensure they are always identifiable should they wander off. Embrace this opportunity to create a unique dog tag that not only reflects your pet’s personality but also reinforces your commitment to their safety and happiness.
Frequently Asked Questions
What is the purpose of dog tag engraving?
Dog tag engraving is a way to ensure the safety of pets by including essential information like the pet’s name and owner’s contact details, which can help in their safe return if they go missing.
What materials are commonly used for dog tags?
Common materials for dog tags include stainless steel, aluminum, and brass.
What are the different marking techniques for dog tag engraving?
The marking techniques for dog tag engraving include laser marking, stamping, and etching, each with its own advantages and disadvantages regarding durability, legibility, and aesthetic appeal.
What are the benefits of laser marking for dog tags?
Laser marking is known for its precision and longevity, making it a popular choice among pet owners.
Is dog tag engraving required by law?
Yes, in many cities, dog tag engraving for identification plates is mandated by law, emphasizing its importance for responsible pet ownership.
How much do dog identifiers typically cost?
Basic aluminum dog identifiers typically range from $5 to $10, while premium options can be significantly more expensive.
What customization options are available for dog tags in 2025?
In 2025, customization options for dog tags include vibrant colors and unique fonts that reflect a dog’s distinct personality.
Why is sturdy dog tag engraving important for pet owners?
Sturdy dog tag engraving is essential for responsible ownership as it provides peace of mind and increases the chances of a safe return if a pet goes missing.